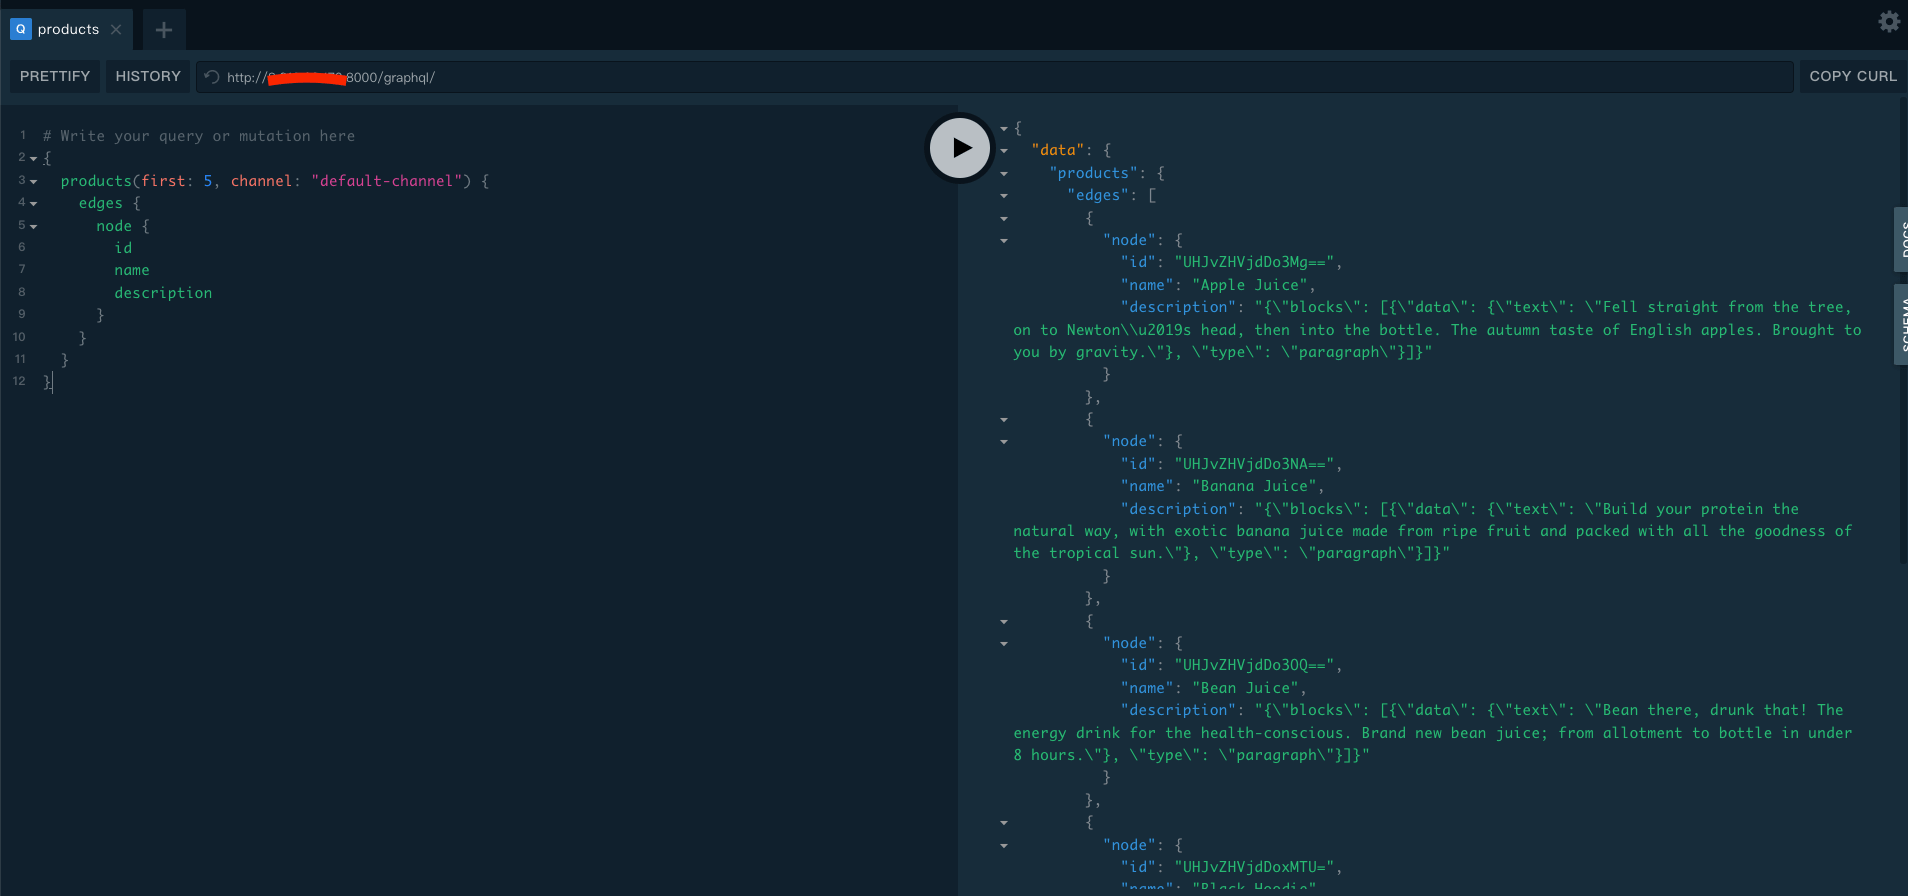
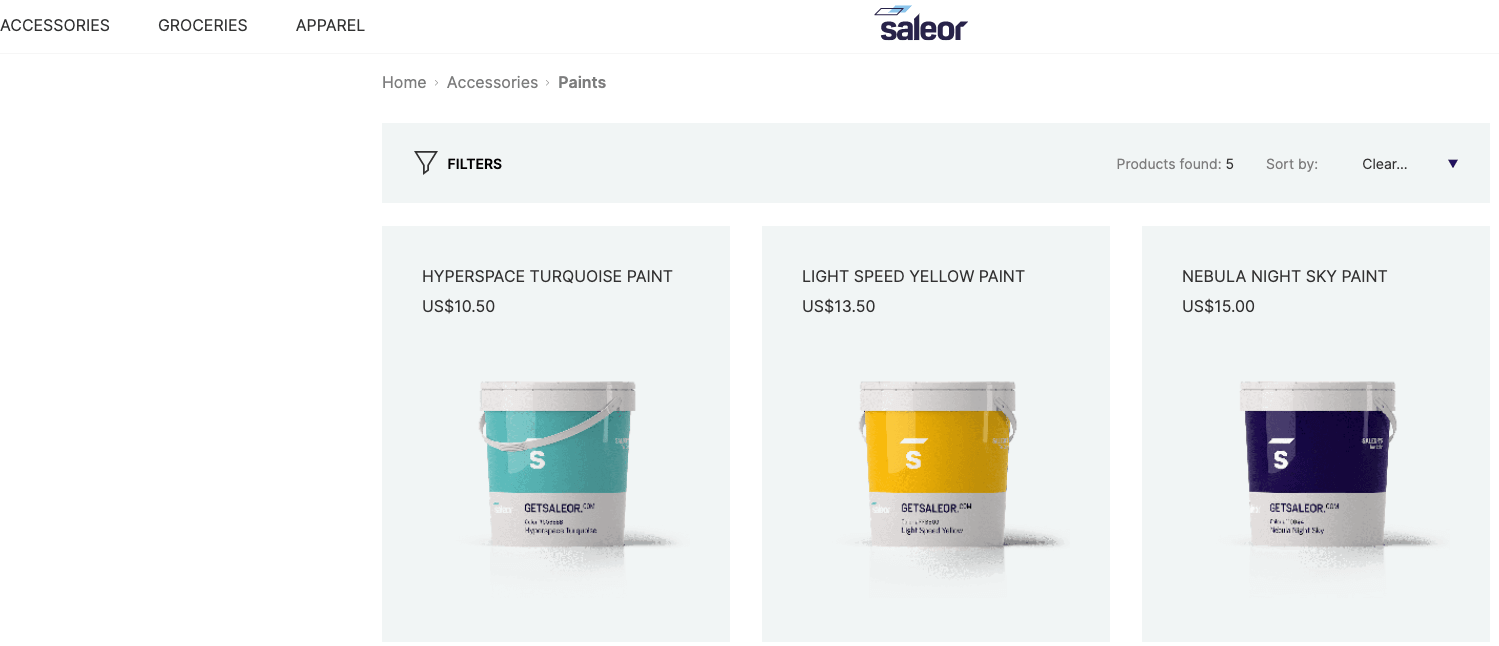
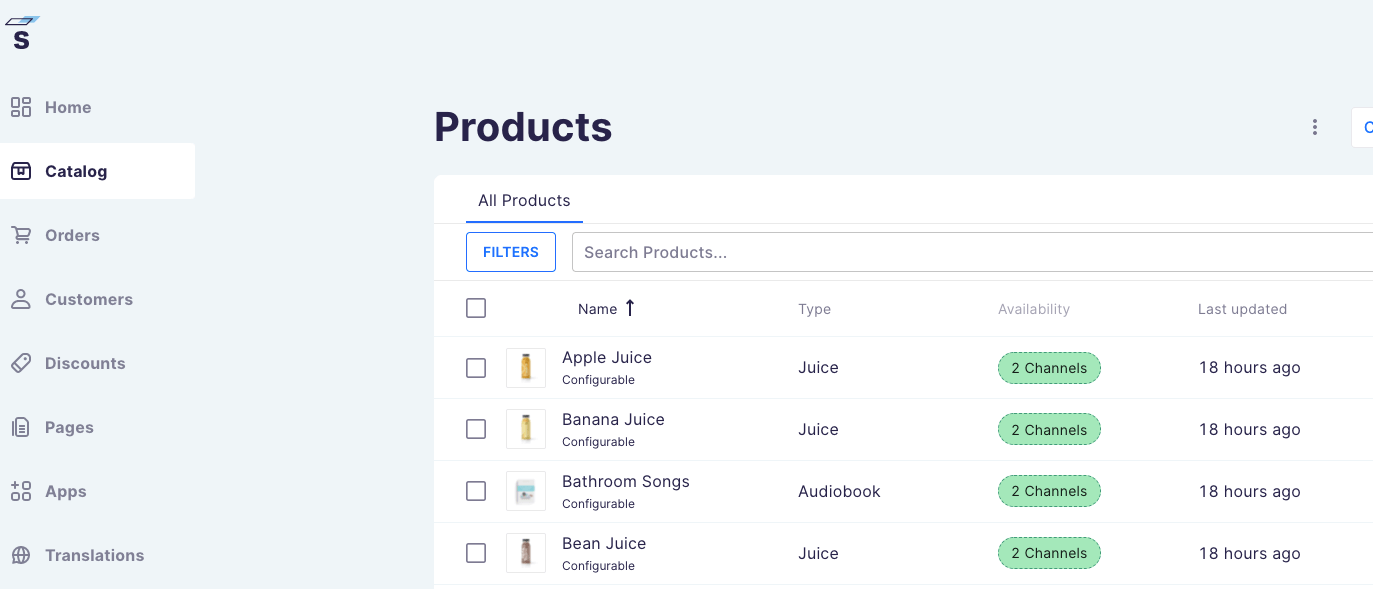
前言
Saleor 是一个快速发展的开源电子商务平台,基于 Python 和 Django 开发。
核心组件
- Saleor Core
- Saleor Dashboard
- Saleor Storefront
准备资源
- 一台vps主机 云主机购买链接
- 一个域名
部署
基本环境配置 传送门
获取源码并构建
获取项目并创建
git clone https://github.com/saleor/saleor-platform.git --recursive --jobs 3
cd saleor-platform
设置变量
backend.env
DATABASE_URL=postgres://saleor:saleor@db/saleor
DEFAULT_FROM_EMAIL=service@superxshop.com
CELERY_BROKER_URL=redis://redis:6379/1
SECRET_KEY=i6uqxkqcnx6ez0xs0gym18xxhw0smls083s21hbnqwmwgt81l7
docker-compose.yml中saleor的environment变量
      - STOREFRONT_URL=http://外网IP:3000/
      - DASHBOARD_URL=http://外网IP:9000/
      - ALLOWED_HOSTS=localhost,api,外网IP
docker-compose.yml中dashboard的build添加args
 args:
        API_URI: "http://外网IP:8000/graphql/"```
构建
docker-compose build初始化
docker-compose run --rm api python3 manage.py migrate
docker-compose run --rm api python3 manage.py collectstatic --noinput
填充数据,创建管理员
docker-compose run --rm api python3 manage.py populatedb
docker-compose run --rm api python3 manage.py createsuperuser
启动
docker-compose up调试saloer
通过浏览器访问,记得打开防火墙
调试saleor-storefront
编辑目录下的.env文件,修改NEXT_PUBLIC_API_URI变量
NEXT_PUBLIC_API_URI=http://外网IP:8000/graphql/访问
调试saleor-dashboard
访问
配置域名访问
使用nginx配置域名访问
worker_processes auto;
pid        /var/run/nginx.pid;
events {
    worker_connections  1024;
    accept_mutex on;
  }
error_log  /var/log/nginx/error.log notice;
http {
  include mime.types;
  default_type application/octet-stream;
  log_format main  '$remote_addr - $remote_user [$time_local] "$request" '
                      '$status $body_bytes_sent "$http_referer" '
                      '"$http_user_agent" "$http_x_forwarded_for"';
  access_log /var/log/nginx/access.log  main buffer=32k flush=30s;

  upstream storefront {
    server 172.24.44.201:3000 weight=1 fail_timeout=10s max_fails=1 ;
  }

  upstream dashboard {
    server 172.24.44.201:9000 weight=1 fail_timeout=10s max_fails=1 ;
  }

  server {
    server_name saleor.superxshop.com;
    add_header X-Content-Type-Options nosniff;
    add_header X-XSS-Protection "1; mode=block";
    add_header Strict-Transport-Security "max-age=63072000; includeSubdomains; preload";
    listen 80;
    location / {
      proxy_pass http://storefront;
      proxy_set_header Host $host;
      proxy_set_header X-Real-IP $remote_addr;
      proxy_set_header X-Forwarded-For $proxy_add_x_forwarded_for;
      proxy_set_header X-Forwarded-Host $http_host;
      proxy_set_header X-Forwarded-Port $server_port;
      proxy_set_header X-Forwarded-Proto $scheme;
      proxy_cookie_path / "/; httponly; secure; SameSite=Lax";
    }
  }

  server {
    server_name sadmin.superxshop.com;
    add_header X-Content-Type-Options nosniff;
    add_header X-XSS-Protection "1; mode=block";
    add_header Strict-Transport-Security "max-age=63072000; includeSubdomains; preload";
    listen 80;
    location / {
      proxy_pass http://dashboard;
      proxy_set_header Host $host;
      proxy_set_header X-Real-IP $remote_addr;
      proxy_set_header X-Forwarded-For $proxy_add_x_forwarded_for;
      proxy_set_header X-Forwarded-Host $http_host;
      proxy_set_header X-Forwarded-Port $server_port;
      proxy_set_header X-Forwarded-Proto $scheme;
      proxy_cookie_path / "/; httponly; secure; SameSite=Lax";
    }
  }
}
FAQ
react启动报错
修改 /etc/sysctl.conf
fs.inotify.max_user_watches=524288使配置生效
sysctl -p
Invalid Host header报错
dashboard配置域名后出现nginx
## npm启动添加参数
npm start -- --host 0.0.0.0 --disableHostCheck=true


评论 (0)